Harvest and Preserve Your Herbs

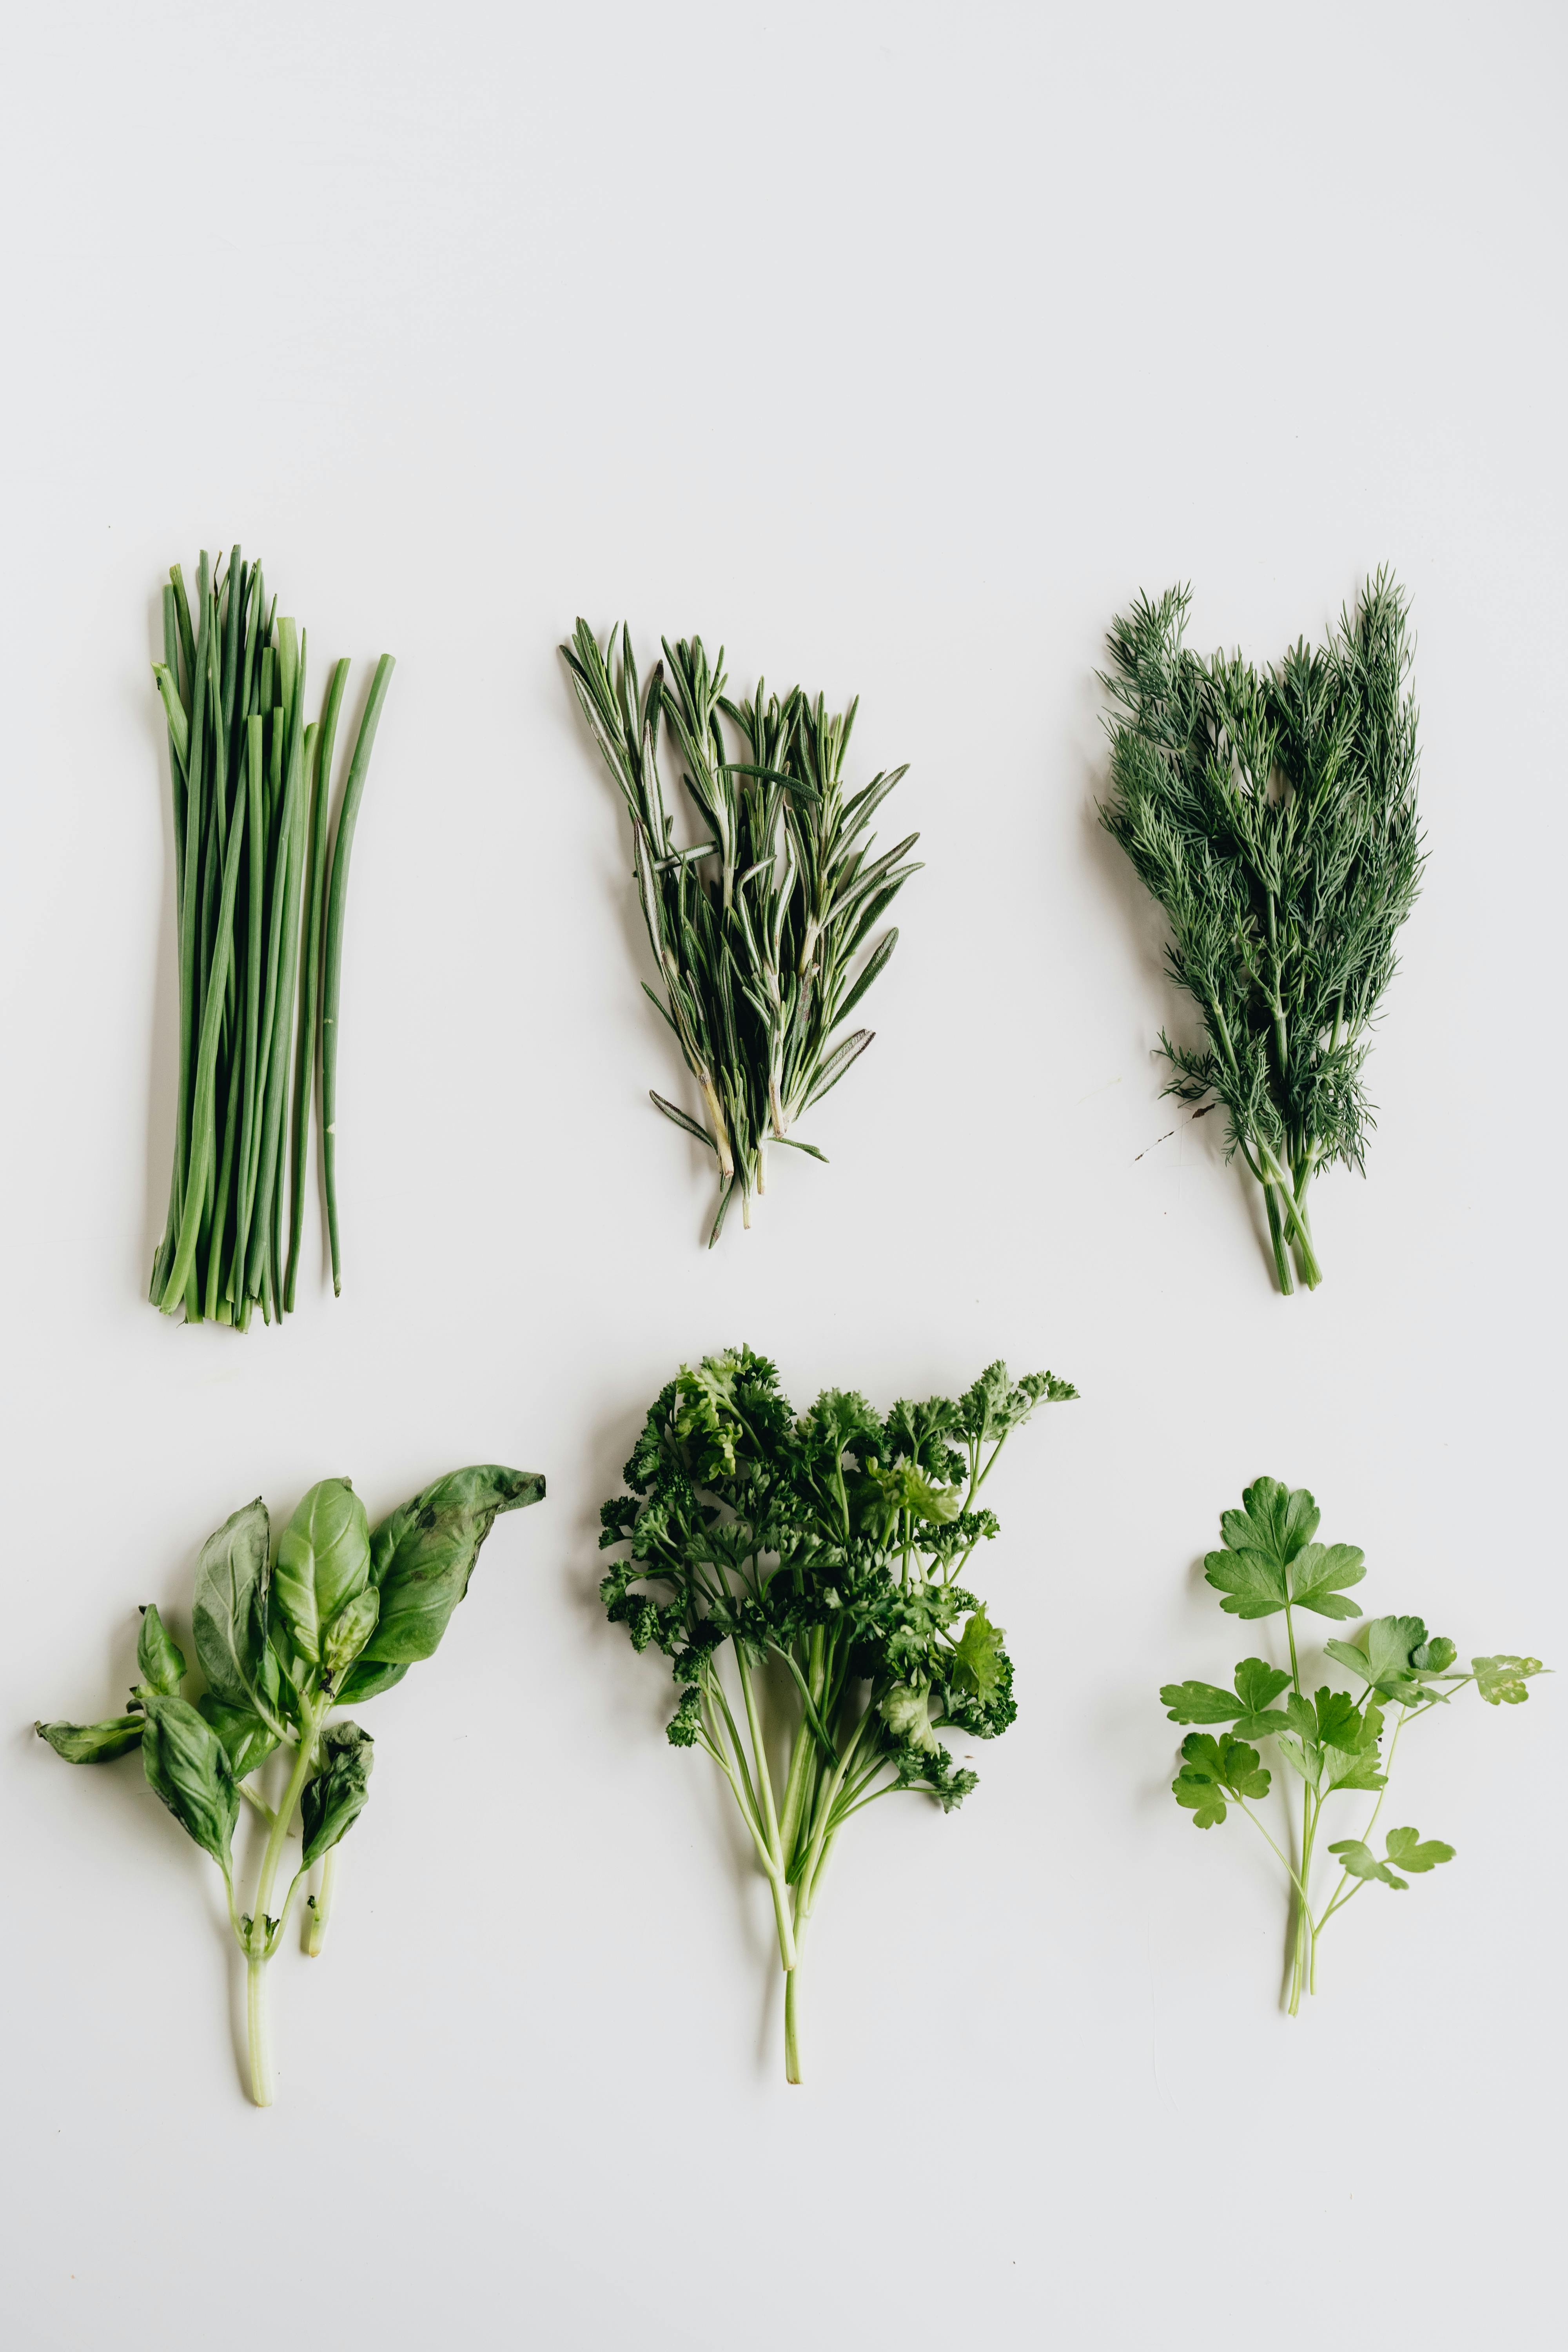
Most herbs are very easy to grow and they enrich our lives with their flowers, flavors and medicine. When harvesting herbs, you need to identify which part of the plant you need – the root, leaves, flowers or rhizome. Then you can decide when is the best time to harvest.

Herbs such as basil, thyme, mint and sage are best harvested when the flowers are about to open. That is when the oil content in the plant is at its peak. Flowering tops such as skullcap, golden rod, yarrow and hyssop are also best picked when the flowers are just about to open up.

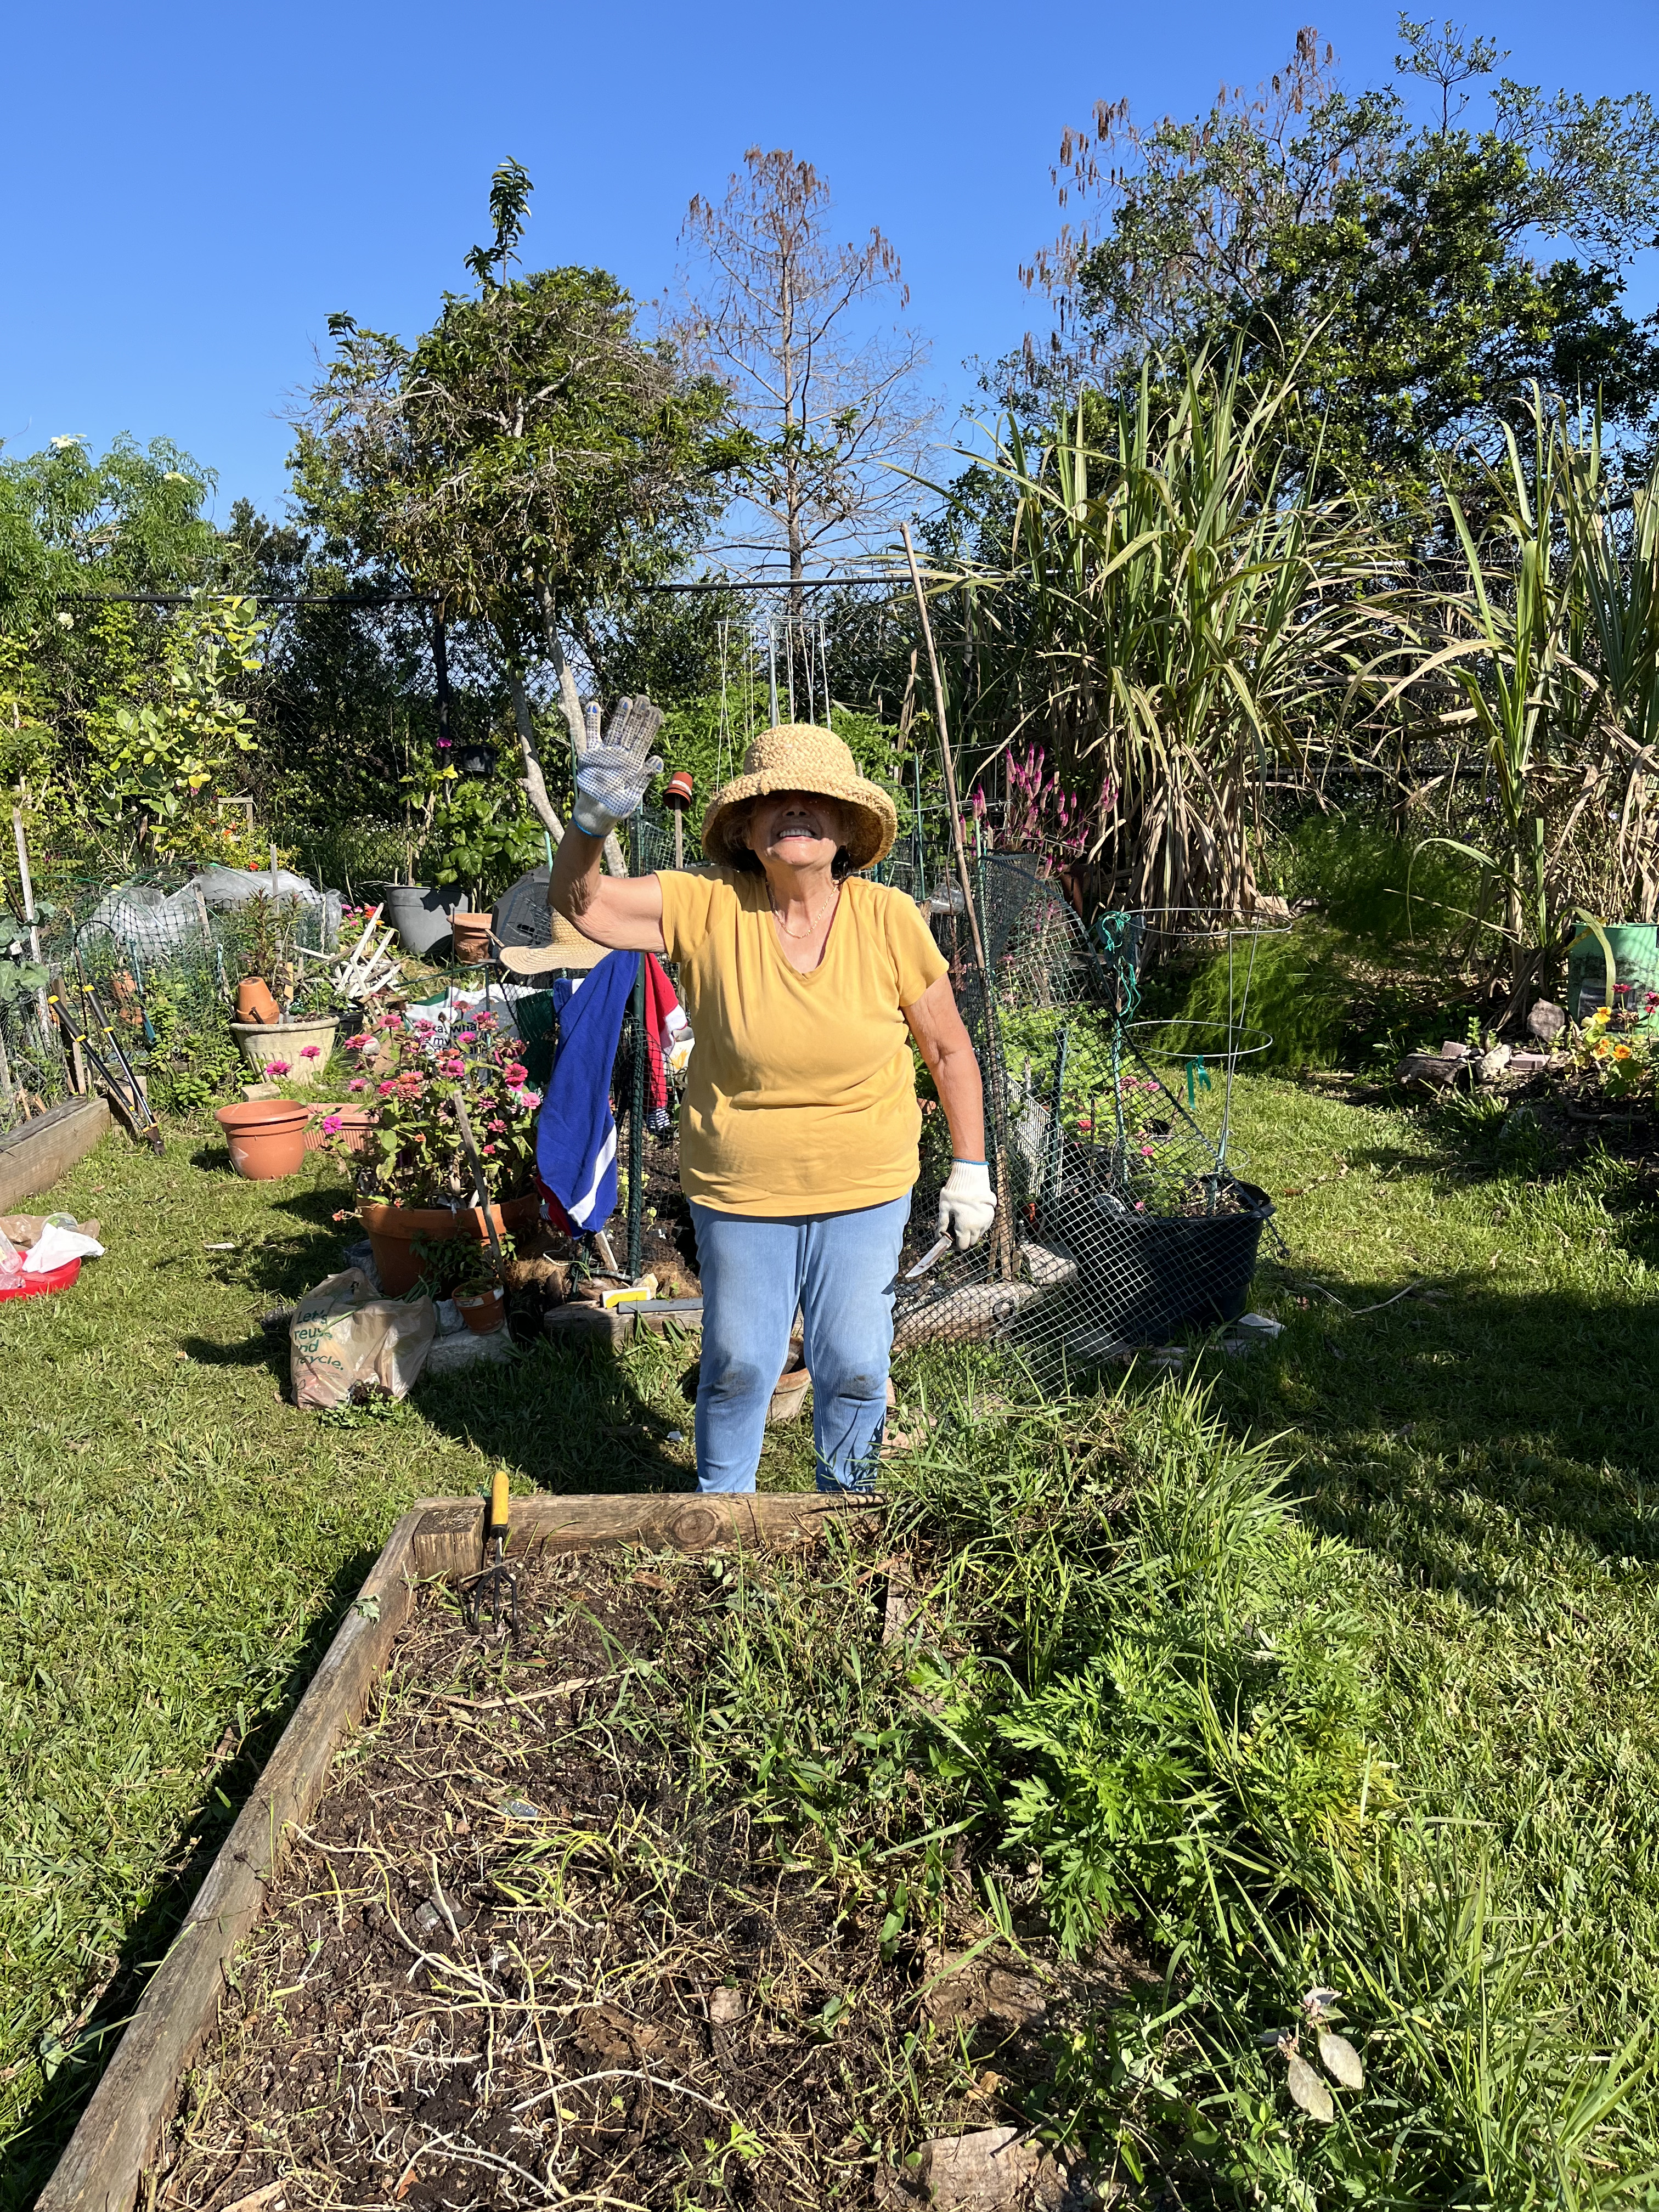
The best time of day to pick flowers and leaves of herbs is in the morning after the dew has dried. Once harvested, be careful not to crush the fresh leaves or to leave them in the sun. You may use sharp scissors to cut at the base of the plant, and if the conditions are right, the plant will will regrow.

Drying Herbs

If your harvest is clean of bugs and dirt, there is no need to wash it. Pick through it to discard any discolored or damaged leaves or flowers. The point of drying is to eliminate the moisture in the plant quickly before it dies so it retains its properties when stored. You can dry them on a screen or some muslin cloth. Tie your herbs in loose bundles using rubber bands and hang them in an area that is warm, dry and shaded. They are dry when the leaves are crisp and snap rather than bend. It may take up to two weeks for some herbs to completely dry. Store in a clean glass jar rather than plastic. Label and date the plant. They do lose some of their potency over time.

Alternatives to Drying

There are a few other ways to preserve your herbs. Freezing, making ice cube herbs and infusing oil or vinegar with your herbs. Some herbs, like basil, are at their best when used fresh, so freezing will help the leaves retain their flavor. See the uploaded document for the best ways to preserve some of the types of herbs.

Medicinal Garden

When the garden expanded last October, plans were made to create a medicinal section. People have used plants for thousands of years to treat mild ailments and support their general health. Below you will see photos of the garden’s first efforts to grow medicinal plants in our south Florida climate. At the center is a Miracle Fruit tree. When the berries of the tree are eaten, everything eaten afterwards tastes sweet, even lemons! Some of these medicinal plants may survive the summer weather, whereas others will be planted like annuals during our fall/winter/spring season. Included in this first planting are a variety of bee balms, holy basil, mugwort, motherwort, marshmallow, yarrow, stinging nettle and plantago. Future plantings will include chamomile, elecampane, feverfew and more! Most of these plants can be used to make teas and tinctures that support your body’s healing processes. Future classes at the community garden will include directions on how to make, store and use some medicinal plants.

Art in the Garden

At the time of our pavilion dedication, Natasha, the daughter of one of our gardeners, gifted the garden with a beautiful mosaic. It sits by a bench near our entrance.

Gardeners were inspired by this beautiful art and discussed the idea of tiling a table and benches in the Memorial section of the garden. Natasha agreed, and a group signed up to help. Mexican tiles were chosen and the activity took a couple of days. The result is this colorful addition to the garden! Thanks to Natasha and all who participated! Be sure to check it out when you visit.

Volunteer Highlights

Beautiful weather and wonderful people make our garden a spectacular place to be on a Saturday morning! With the onset of the cooler weather, volunteers have completed many of our garden tasks while sharing gardening tips and enjoying snacks! Here are a few highlights from our January and February Volunteer Work Days:

Making Signs

Creating a Medicinal Garden

Great Teamwork Mulching in the Food Forest

Sifting Compost For the Garden

Weeding, Planting and Mulching